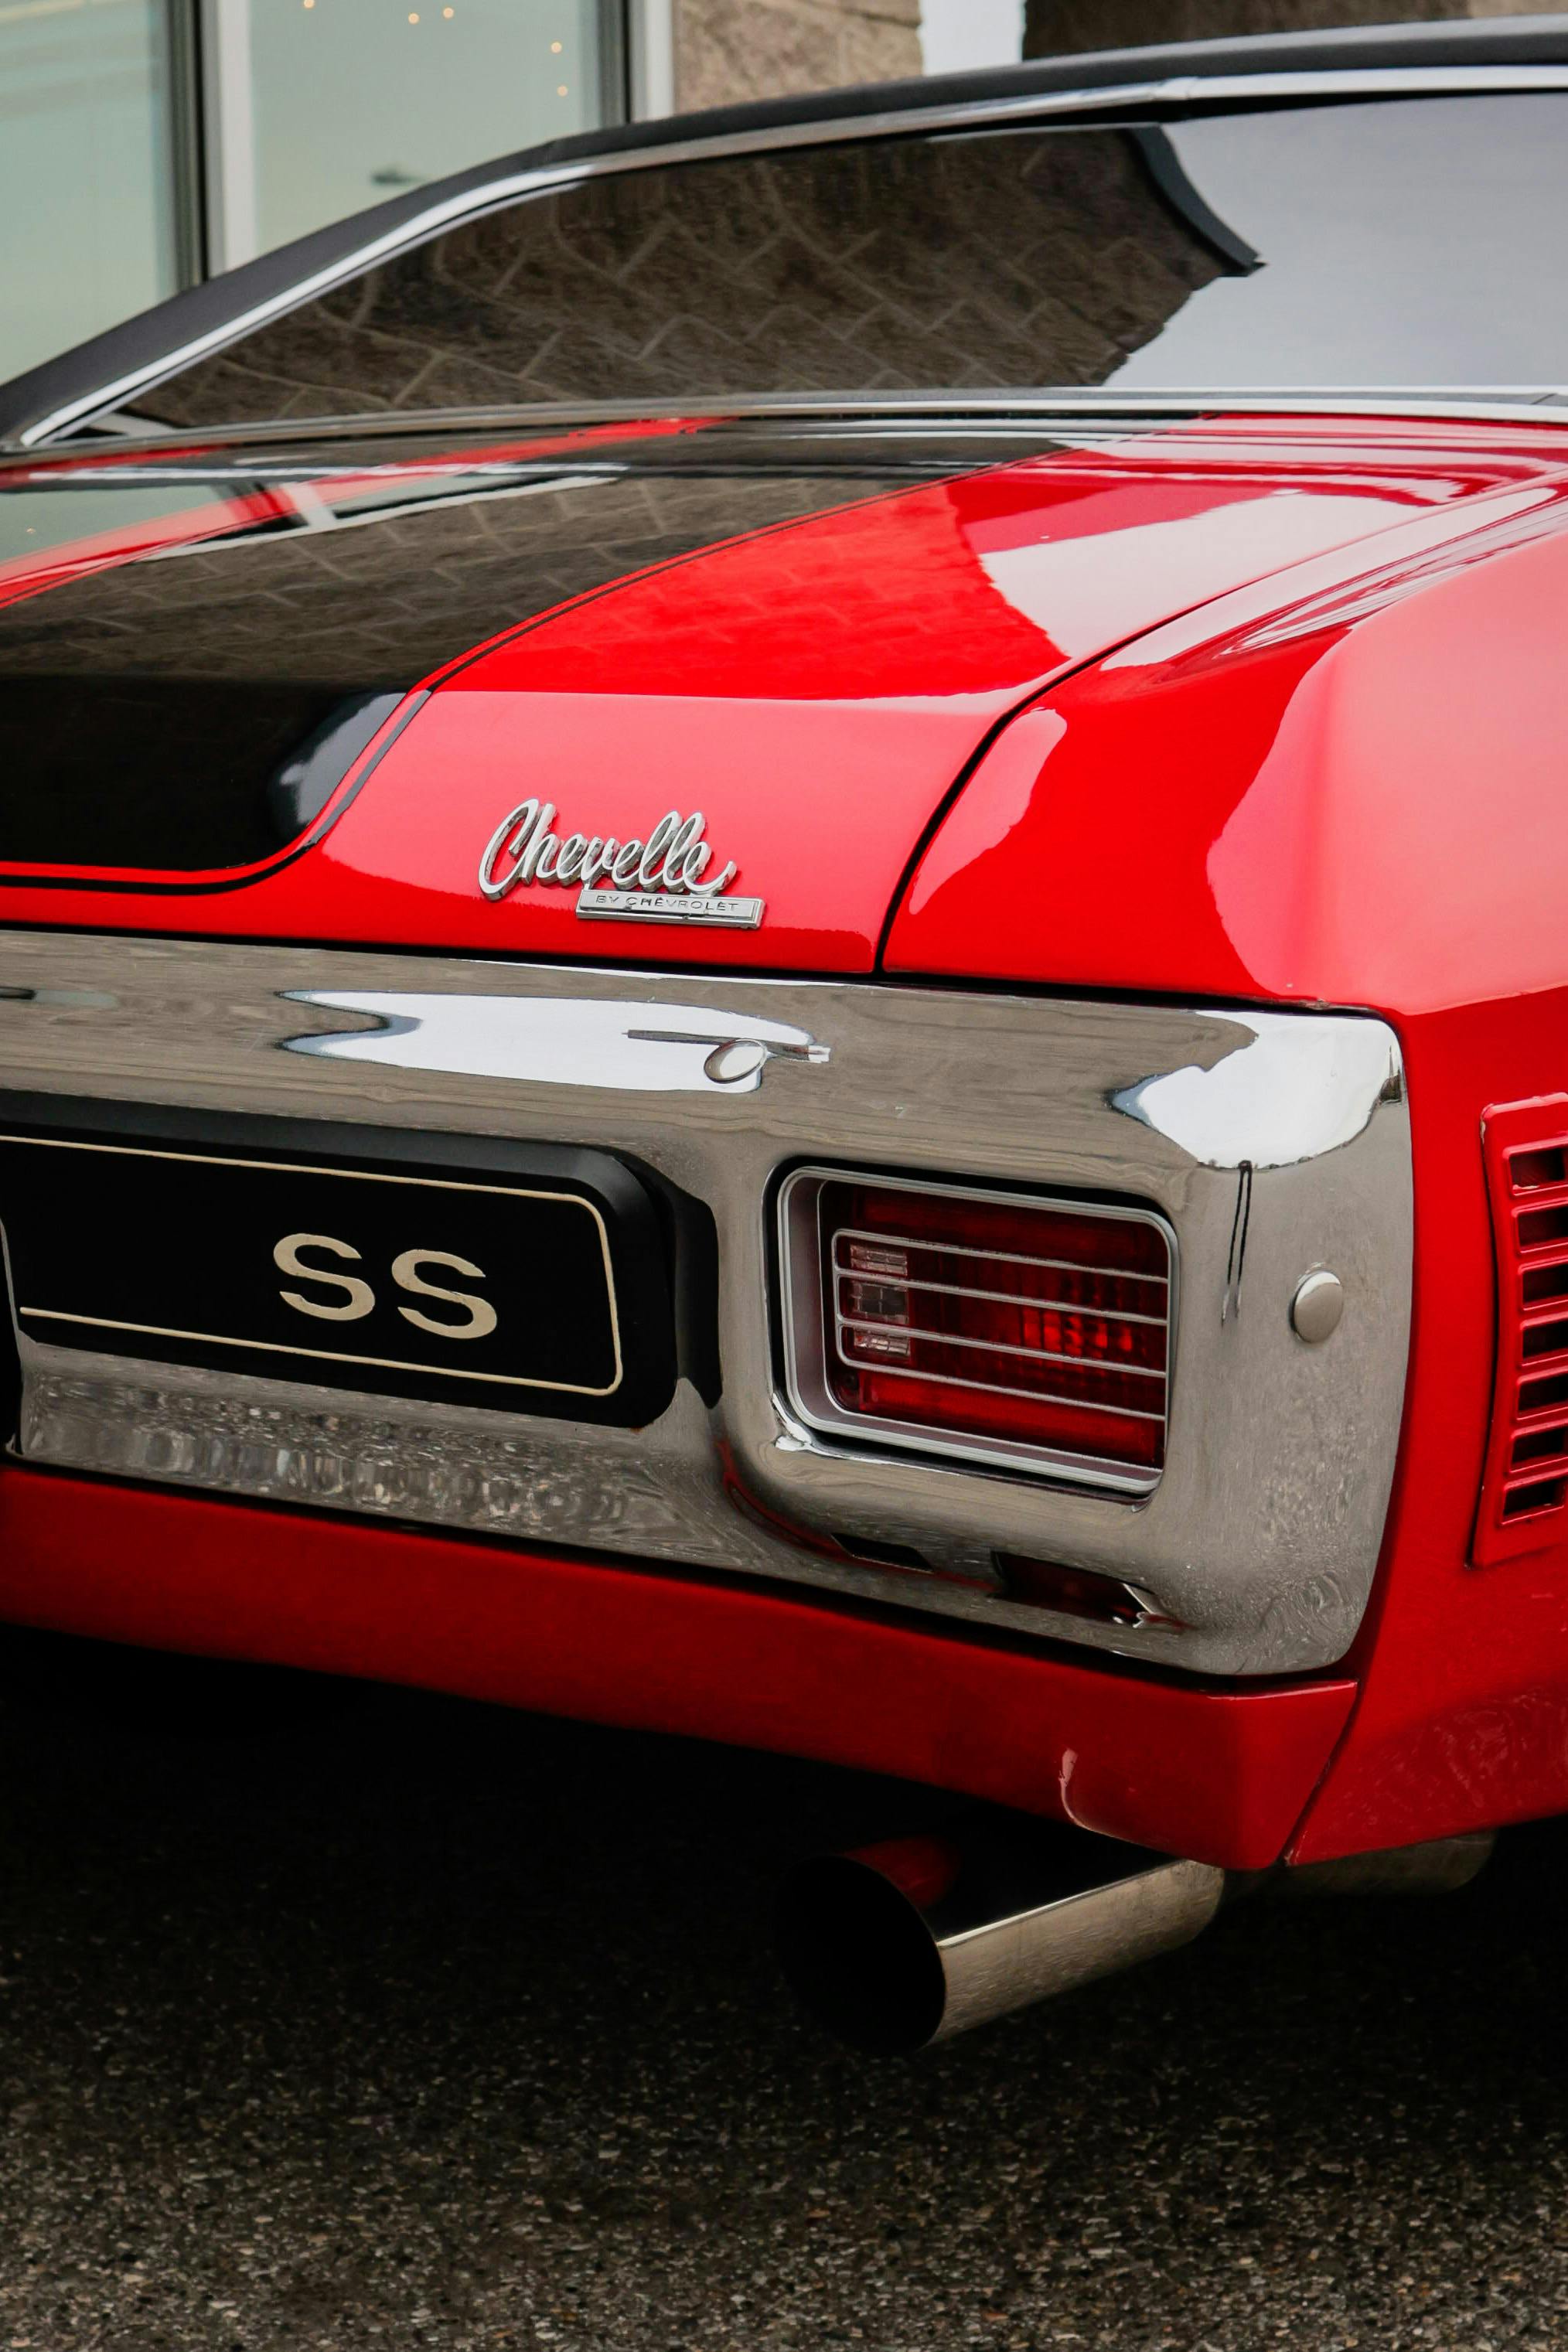
Everybody has a dream girl, and mine was Chevelle. I chanced upon her when an ad popped up for a second-hand car dealer. And there she was in all her glory: a 1968 Chevrolet Chevelle. Sure, she had a good number of miles on her and plenty of rust to boot, but I knew it was meant to be. So, here is how I restored my rockabilly classic car.
Stripping It Down
The first order of business after I got the Chevelle into my garage was to strip her down to her bare bones. This was not a job for the faint-hearted. Armed with wrenches, screwdrivers, and plenty of elbow grease, I removed the seats, dashboard, trim, and what felt like a thousand other components.
Honestly, it felt a little excessive, but how else are you going to find out if rust is lurking in hidden places? Each piece was labeled and set aside, the smaller parts in ice cream tubs and buckets, ready to be replaced or restored later.
Seeing the car reduced to a skeleton was actually terrifying. The idea that I would have to put everything back together later was a definite concern. At the same time, it was thrilling thinking that I now had a blank canvas to work with.
Bumping, Grinding, and Shopping
After being neglected in someone’s yard for years, the frame of the Chevelle needed extensive work. I spent months cutting out rusted sections, welding in new metal, and grinding everything to make it smooth. The painstaking process took its toll on my sander and my back.
In between my sessions in the garage, I did my shopping for the special touches. I decided that 20 inch black wheels with low-profile tires would make her look nice and tough. Authentic badges and trim were hard to find, and it took a good four months for me to get the parts together.
Once I got rid of the rust, I had to modify the suspension to accommodate the larger wheels. Adjustable coilovers were useful for fine-tuning the suspension height and stiffness. I also had to roll the inner lip of the fenders to provide extra clearance.
Heart of a Rebel
A hot car is not just about smokin’ good looks. The soul of any vehicle is the engine. The engine that came with Chevelle was a tired old V6, which simply wasn’t good enough for my girl. I sourced a high-performance V8 capable of delivering raw power and that throaty muscle car growl.
Installing the new engine was a challenge, though. We had to make some modifications to the engine bay and create a custom mount, but when she roared to life, it was pure magic. I installed a modern transmission to handle her attitude adjustment and new disc brakes for better stopping power.
Paint Me Pretty
Once the bodywork was complete, it was time to get her repainted. I opted for a glossy red with chunky black racing stripes. We spray-painted every single piece separately to ensure that there were no bald spots. Layer upon layer of paint and clear coat were applied, sanded, and polished.
The interior of the car was just as important. I opted for deep red leather seats stitched in a classic tuck-and-roll pattern. Every detail, from the floor mats to the headliner, was chosen to match. Custom chrome trim on the dashboard, including around the gauges, added a touch of luxury.
Once I got started with the chrome, it was hard to stop. The front grille was screaming for more shine, and the chrome bumper was a definite must-have. Side mirrors, door handles, and window trim—why not? Even the exhaust tips got a nice dip in chrome to add a finishing touch to the rear.
The First Date
After countless hours of hard work, the day finally came to take Chevelle for a spin. The moment I turned the key and heard the engine roar to life, I knew all the sweat and pain had been worth it. The car was a dream to drive, and I felt like a million bucks as we rolled down the street.
It is undeniable that one of the best rewards of fixing up a classic car is the kudos that it gets you. People turn their heads wherever we go, and you can see their eyes go wide as they take in the beauty of this retro machine. That, and unleashing her power at the lights is so much fun!
Comes With a Cost
All in all, I spent a little over $30,000 to get Chevelle back in top shape. By doing what I could and taking on the majority of the grunt work, I managed to keep the bill manageable. Many other aspects of the project required a professional touch, such as the chrome work and engine tune.
In the end, it took almost a year of working on the car after hours and two years of paying the work off in installments. It was definitely much harder than I had expected when I first set eyes on the ad, but I learned a lot from experts and friends along the way. And now that I have my dream car, I wouldn’t trade her for the world.
