Leather seats in cars – nice to look at, fancy to sit on and good to impress people with. All definite positives, but there is one negative – they’re a bit of a pain to maintain.
The reasons most vehicles utilise some form of hard-wearing textile upholstery on the seats is because they go through an awful lot and get exposed to plenty of nasty stuff. Over the course of their service, seats get stretched, scratched, stained and subjected to all sorts of niggly dirt and debris.
Leather, while a very hard-wearing material, is less durable in these conditions than your typical garish bus seat fodder, thus needs more intensive and regular TLC. Don’t look after your leather seats, and the damage will show up quicker and more visibly, which can be a real damper, not only on your personal enjoyment of your vehicle, but its resale value, too – which can be even more important if you’re leasing a car or have one on finance.
So, there’s your motivation – now for the cleaning process itself. Here’s how you look after your leather seats.
Check the manual
Before reading through our advice on how to clean leather upholstery in cars, remember you do have a manual to hand in your car’s glovebox. If your car is nice enough to come with leather seats, there’s almost certainly some supporting information specifically on how to look after those particular seats.
Whenever you’ve got a problem with your car, it’s always best to first check the manual for the dos and don’ts on your vehicle, before scouring external sources for help. Your leather seats are no exception.
Sweep before you mop
OK, disclaimer: you’re neither sweeping nor mopping your leather seats as that wouldn’t be good for them. However, you are going to use a number of liquids to treat your seats in this process, and just like when you mop the floor, you need to sweep first to ensure any loose debris is taken out of the equation.
So, before you use any liquid cleaners on the seats, make sure to do a thorough but gentle brush and vacuum down of your upholstery so you’re not running into any loose bits once the wet cloths are out – which we can all agree is a horrible feeling that should be avoided at any cost.
Spray and pray – or brush.
Once you have a debris-clear tapestry to work on, it’s time to get your premium cleaner out. There are plenty of effective leather cleaning options out there, so your first task is finding the right one for your vehicle – check Carbuyer’s guide to leather cleaners for some recommendations.
Apply your cleaner with care and in moderation to the seats (again, be careful to follow the instructions of your chosen product) in order to prep it for the sterner dirt removal. Leather seats pick up a lot of dirt and stains embedding in the leather that need working out, so the cleaner you pick should have excellent stain removal qualities (some of the better cleaners out there will also lay down a protective coat to finish, too).
Once your cleaner has had time to settle, get to work with a soft bristled brush, cleaning in circular motions with a focus (and additional pressure) on stubborn stain areas. The product you’ve used will hopefully have begun to lift the stains and dirt from the leather, so finish the removal job with your brush work.
Wipe down to catch any stragglers
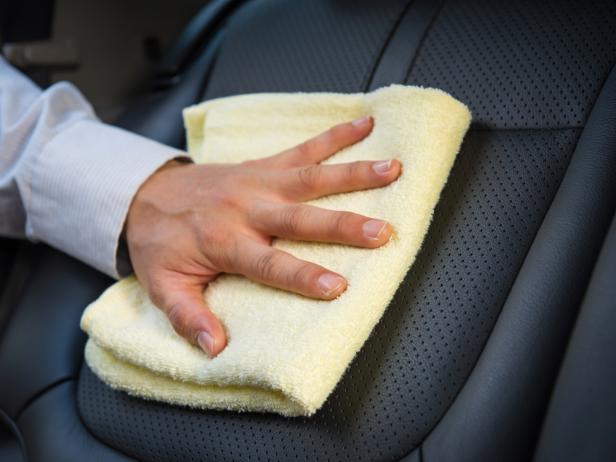
Once you feel like you’ve done all you can with your brushing and the material is looking stain free, wipe down the seats with a clean, dry cloth to ensure the last of the freed-up dirt is removed. This is an essential piece of the cleaning puzzle, as if you’re to follow your cleaning job with any conditioning treatments, it’s essential your seats are debris-free so you’re not effectively trapping any unwanted stuff in.
Condition to complete
Once you’re fully satisfied that the cleaning job is done, the finishing touch is to apply a quality leather conditioner that will offer protection for the material for the foreseeable future. As we mentioned earlier, some good cleaning products will come with a built-in conditioning element, so it’s up to you whether you want to trust that or introduce a specialist product to be safe.
Once your conditioner is applied, it’s time to take a step back and admire the fruits of your labour, and no doubt enjoy the combined “clean” smell of all the products you’ve applied.
Your seats should need a clean-up and recondition of this nature once every 3-6 months or so, so even though the cleaning job is a fairly substantial one in itself, you’ll only need to do it 2-4 times a year. You might actually find the cleaning process quite enjoyable, as the end results are typically highly rewarding.
